Alongside the first expansion: Tunnels of Terror, Back 4 Blood is also introducing a new difficulty that changes what you need to be prioritising in your decks.
No Hope Features
The changes include but are not limited to: fewer copper piles (All of which will now be small), Boss attacks at random, no free accessories in the world and no free charges for first aid cabinets. In contrast to this, random card shrines are now more frequent which further confirms that the No Hope difficulty demands players get used to earning and saving copper while supporting the overall economy of the campaign – ensuring you play in the most optimal way possible.
Also, No Hope players will start with their entire deck! This completely alleviates how to prioritise the order of your cards but, with the additional changes, you might find that you need to consider cards that you wouldn’t normally to offset the new handicaps.
Must haves
Now the top picks I suggest are by no means the “Holy Grail” of cards but, they are going to focus on those item and economy handicaps that No Hope enforces innately. This being said, communication is key and ideally you’re going to want to ensure that there is no overlap among players for cards that need only be played by one person.
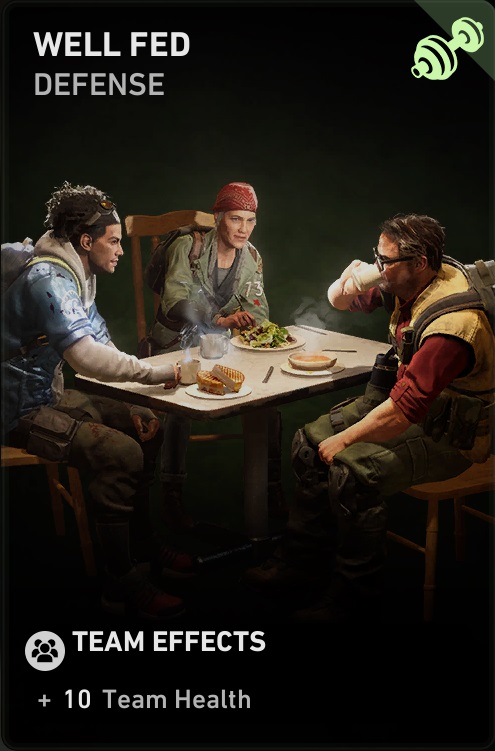
Well Fed: Increases your team’s health by 10. Probably the most explanatory of the cards, now imagine everyone on the team plays the same card. That makes your base health 140 without the 30% stamina decrease from the equivalent Canned Goods card. Cushty!
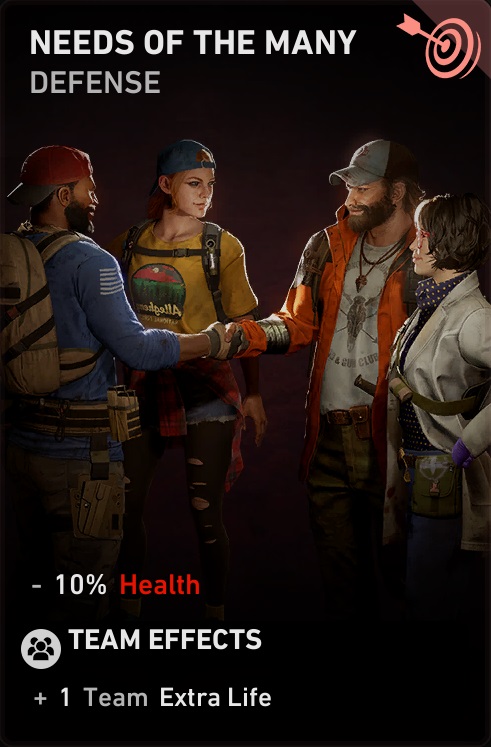
Needs Of The Many: +1 Team Extra life, -10% health. Much Like Nightmare mode, without this card (Thanks to Mom’s rework) you’re sitting at an instant kill once your health drops to 0. Lives no longer recover from cabinets, first aid kits, defibrillators or upon reaching the safe room so everyone should be playing this card. Well Fed played by multiple people will compensate the -10% health deduction.
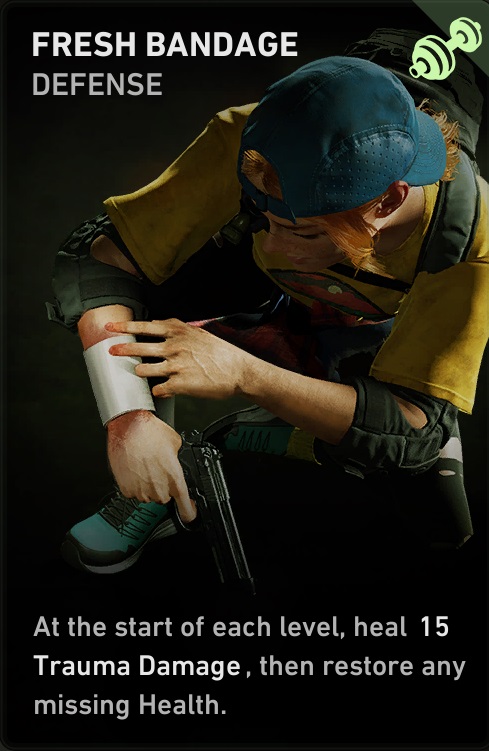
Fresh Bandage: At the start of every level, restore 15 trauma damage and heal any missing health. Simply to compensate now that Safe Rooms no longer recover health and restores a considerable amount of trauma damage from the get go.
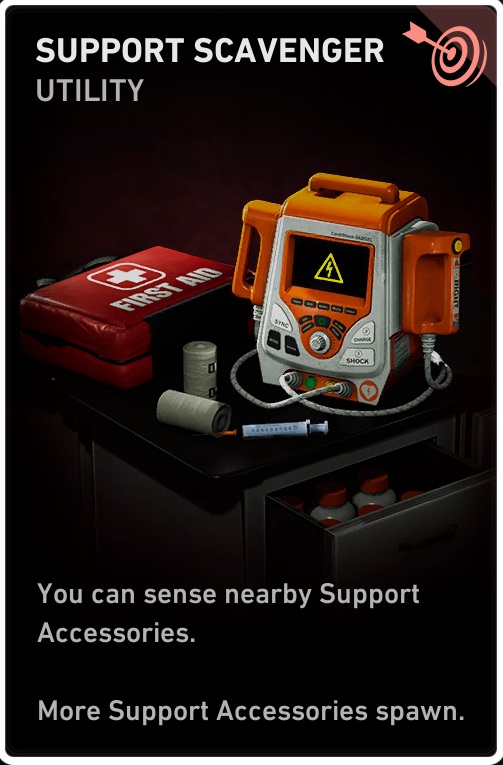
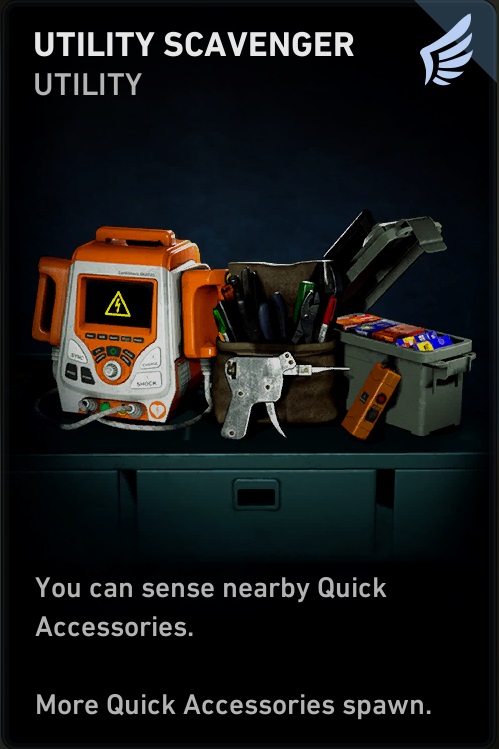
Scavenger Cards: (Best practice to divvy up the scavenger cards across the team if possible) Scavenger cards are going to be a new imperative now that free accessories will not spawn in the world on their own, with this card however you can alleviate that problem and make it so they do again… albeit at a lesser frequency. I’d suggest prioritising Support and Quick Items mostly to make sure you have healing items, defibrillators and stun guns more readily just in case. For offensive items you can rely on Hoffman (And maybe Heng?) to pop them. Copper Scavenger is an idea considering the lesser spawns but if they’re all going to be small piles… there are better cards to help the economy and saves you hunting around and risking a boss/horde attack.
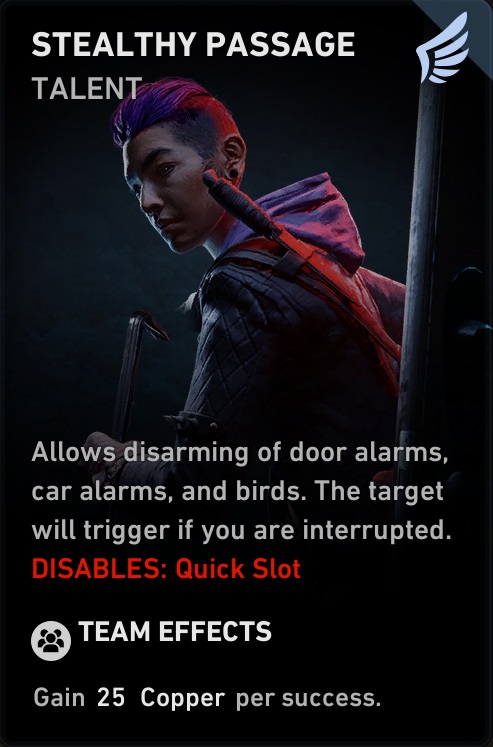
Stealthy Passage: (Only one person needs to play, whoever won’t be playing a scavenger card preferably.) Brand new to the expansion, Stealthy Passage while eliminating the ability to carry important items like stun guns and defibrillators is not only going to allow you to disarm unavoidable horde triggers but will also help with the economy by giving 25 copper to everyone upon a successful disarm.
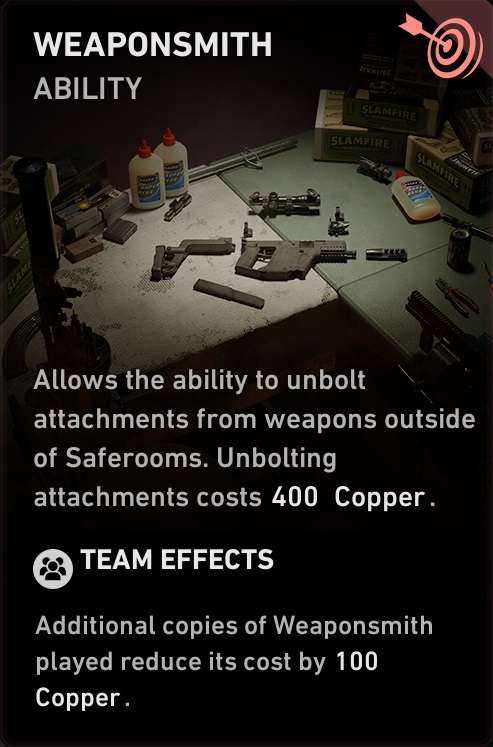
Weaponsmith: As of the latest update, for 500 copper you can now “unbolt” your weapon inside saferooms and detach any attachments you’ve got on them. With weaponsmith however, you can do this WHEREVER you are on the map. The extra-neat thing about this is that unbolting your weapon is a PERMANENT effect on the weapon and will persist into other levels – a full party all playing Weaponsmith can mitigate the cost of moving legendary attachments to higher tier weapons for only 100 copper. Especially handy if you come across a super stacked weapon early on in the campaign or in the Hives.
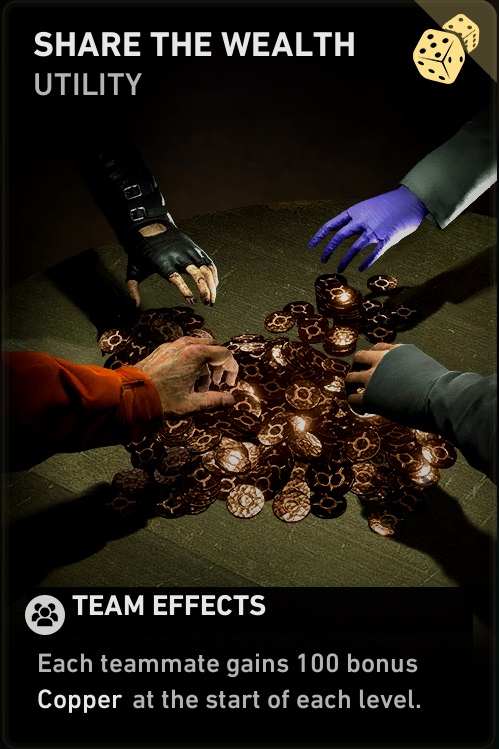
Share the Wealth: (Optional, depending on how good the team is at completing objectives and quickly sweeping areas for valuables.) Hives contain plenty of copper and offer an additional card play at the start of the level… if you can survive them. But if everyone is on board with using a card slot and pooling your money together for gear. Share the wealth gives everyone on the team 100 copper at the start of the level. If everyone plays Share the Wealth then that’s 400 for yourself to spend or 1600 when combined for Team Upgrades in the shop (Saves on using cards like box of bags for extra inventory slots with their respective health deductions).
Specialisation
The rest of your deck should now be focusing on your playstyle and what types of weapons and loadouts you’re comfortable with. As for me I like to be a medic and Mom is looking stronger than ever for this purpose thanks to her rework.
Mom Medic
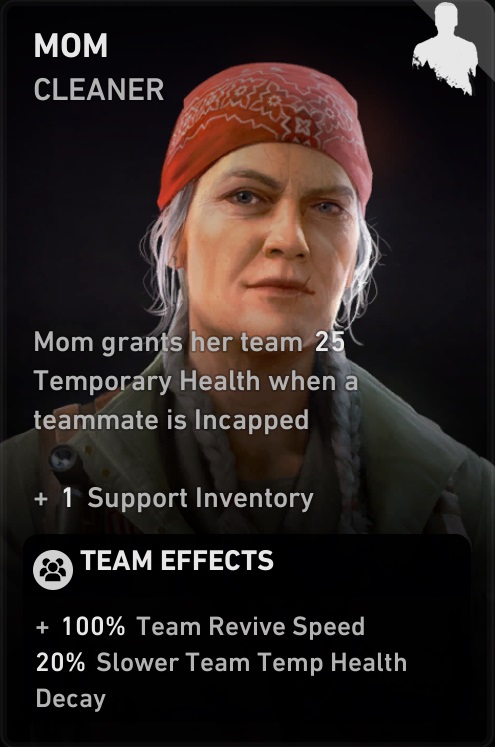
Mom, while she has kept her extra support inventory has lost her extra team life and her instant revive. Instead, she now gives 25 temporary health to the team whenever somebody goes down, doubles the speed of revives for the whole team (Although, if you’re playing her as the medic, she should be the only one doing revives) and slows the decay of temporary health by 20%. The extra life was helpful but easily rectified with our must haves.
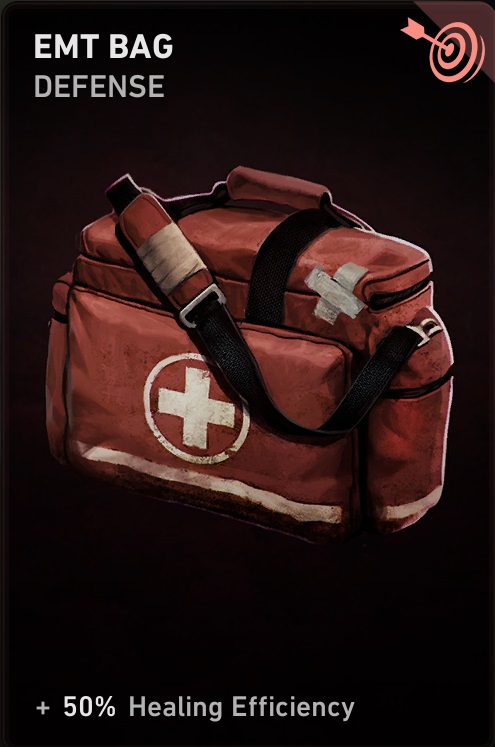
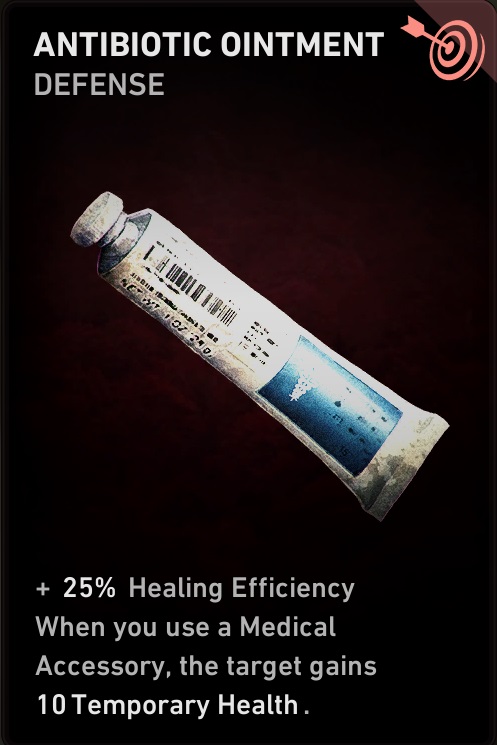
EMT Bag/Antibiotic Ointment: Mom especially needs a hand to make the most of support items so +50% healing efficiency is a no brainer but, if you’re Doc you can trade 10% of that healing efficiency while adding 10 temporary health into the mix with Antibiotic Ointment. Temporary Health while active negates trauma damage if the damage received does not exceed your temporary health value and is going to be crucial to surviving the No Hope difficulty.
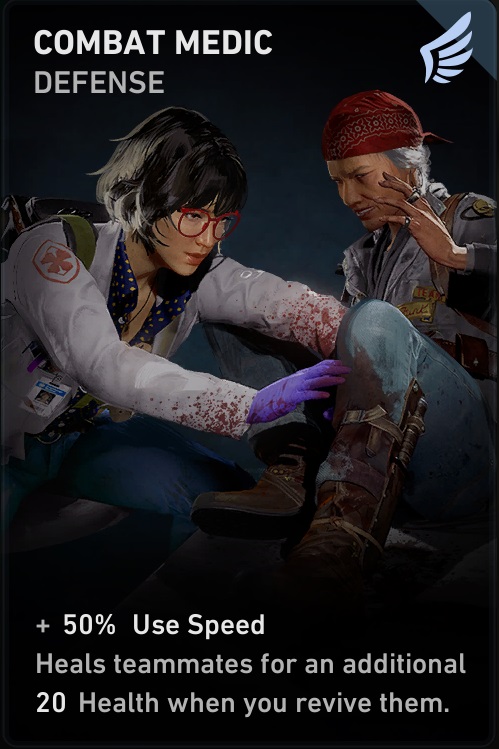
Combat Medic: +50% Use Speed helps make those clutch heals a little speedier so you can get back to helping clear the hordes plus, an extra 20 health on top of one of your revives is a handy buffer to keep them up while they reposition.
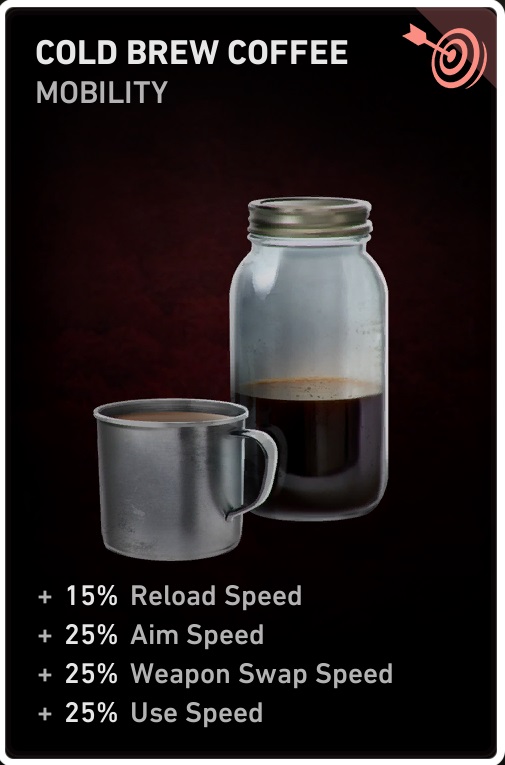
Cold Brew Coffee: An all-rounder, Cold Brew Coffee will make your healing speed 75% more efficient when combined with combat medic while also increasing reload speed, aim speed (Which is to say how quickly you aim down sights) and how quickly you swap out weapons so it’s a good card for any gun build.
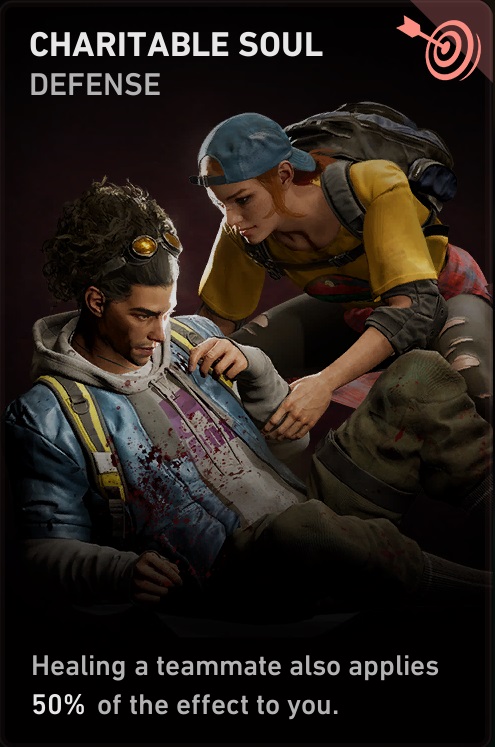
Charitable Soul: Applies 50% of the healing value to yourself when using a medical accessory on a teammate. Worth doubling down on your healing and make the best use of your limited support accessories – minimising how much you need to use on yourself.
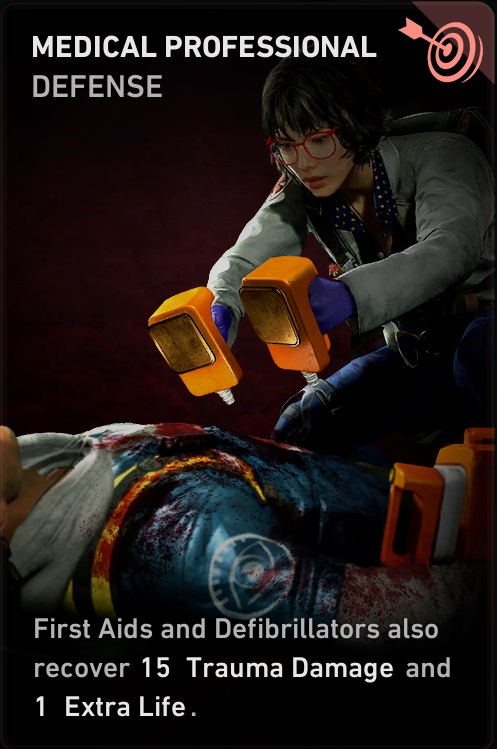
Medical Professional: Now while the feature of restoring a life isn’t possible on No Hope, healing 15 trauma damage with first aid kits and defibrillators in the field is nothing to scoff at.
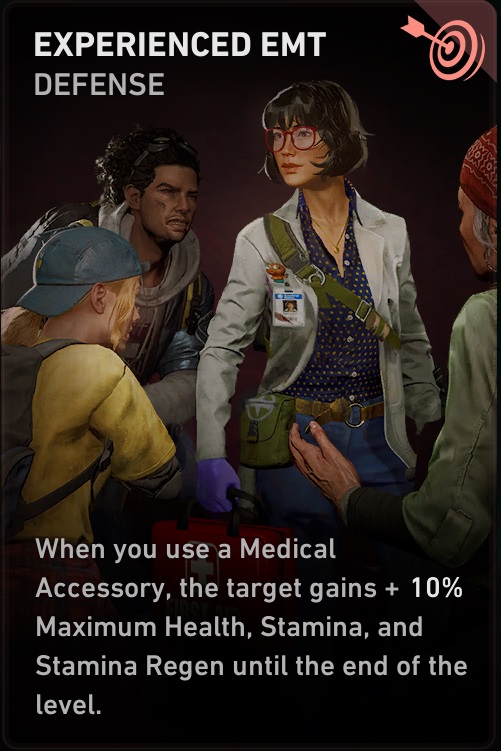
Experienced EMT: Healing a target also increases max hp, stamina and stamina regen by +10% for the entire level. More for the boost to Stamina and Stamina Regen than anything but can also be a handy bump out of nowhere to max health when in dire straits.
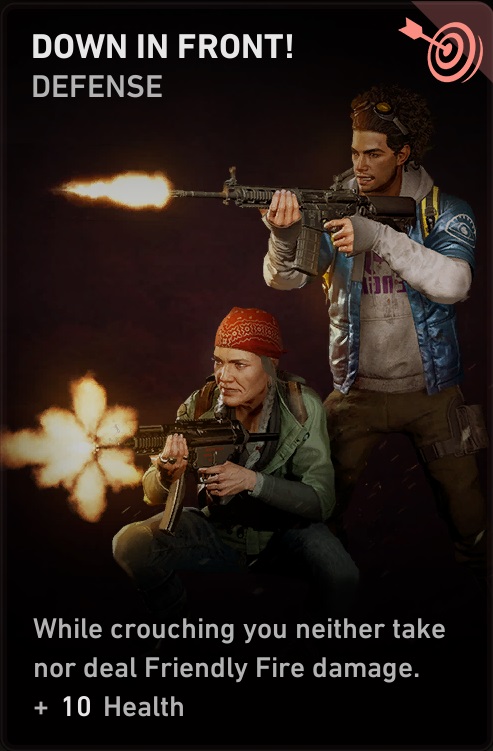
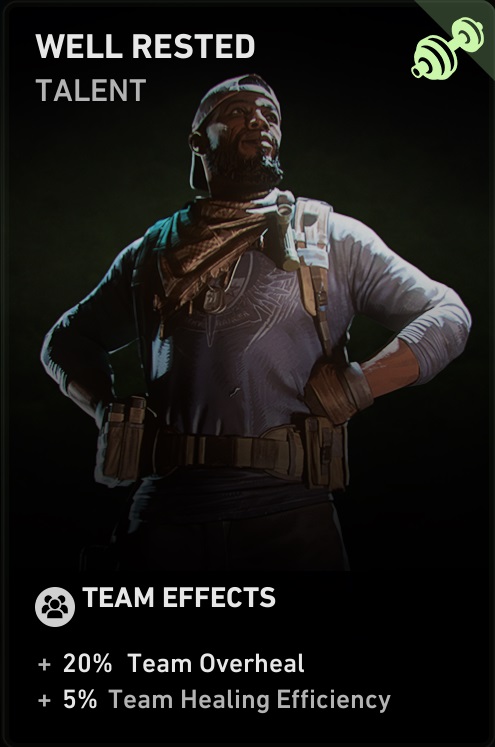
Down In Front/Well Rested: Eliminates friendly fire while crouching. A lot of people playing No Hope mode should be good at keeping out of the way of gunfire and positioning but my aiming becomes pretty erratic in a horde attack so I need the help… +10 health. Arguably the better choice is the new card Well Rested that increases team healing efficiency by 5% and grants a new feature… +20% Overheal. What this means is that any healing value that would exceed your max hp and is otherwise wasted, you now receive 1/5 of the remaining healing value in temporary health ABOVE your max hp. Helpful when your healing efficiency is through the roof!
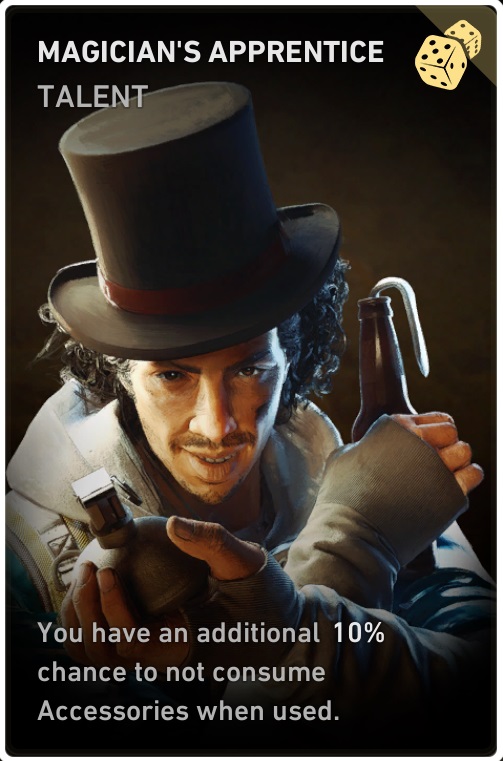
Magician’s Apprentice: 10% reuse chance on any accessory. Being able to reuse any accessory is a blessing, especially pain meds or first aid kits once they are able to restore trauma damage.
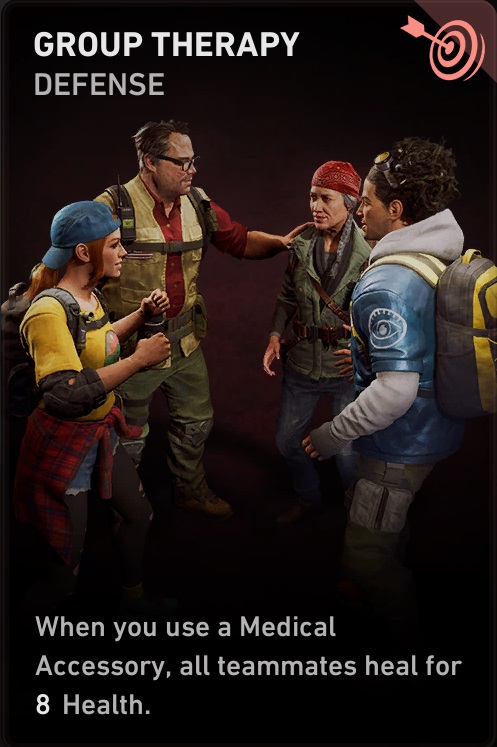
Group Therapy: Using a medical accessory heals all teammates for 8 health. Bit of an odd one given the seemingly low output but, considering that No Hope requires communication and based on the assumption that everyone should be carrying medical accessories for the purpose of giving them to the medical specialist to do their job. Group Therapy is great. If everyone is at low health and needs a heal. That’s a bonus of 32 health across the board. You could argue that poultice is more effective with its 20 extra health over 30 seconds and the ability to grant pain meds some health restoration on top of temporary. It is however more likely and realistic that one player has sustained more damage than another who only needs a little bump of health. In that instance, Group Therapy would ultimately save you a medical accessory – maintenance and frugality are more important than the overheal I think.
Walker Damage/Debuffer
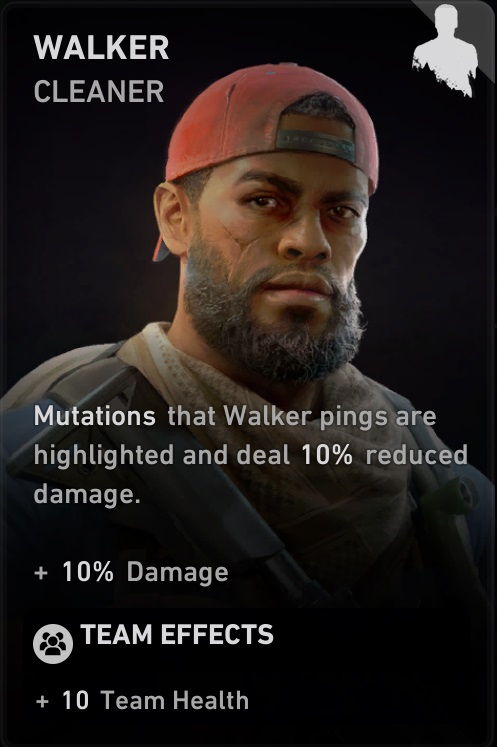
Walker starts out with a +10% damage buff while call outs on mutations decrease the amount of damage they deal to the team by 10%. His innate card means that he can also remove well fed from play and still benefit the whole team with +10 health while freeing up an extra slot for his own build… or you could make him the Stealthy Passage mule. Shotguns are a viable high damage build especially when paired with accuracy cards that make every pellet hit with laser point focus.

Optics Enthusiast: +30% accuracy to tighten the pellet spread.
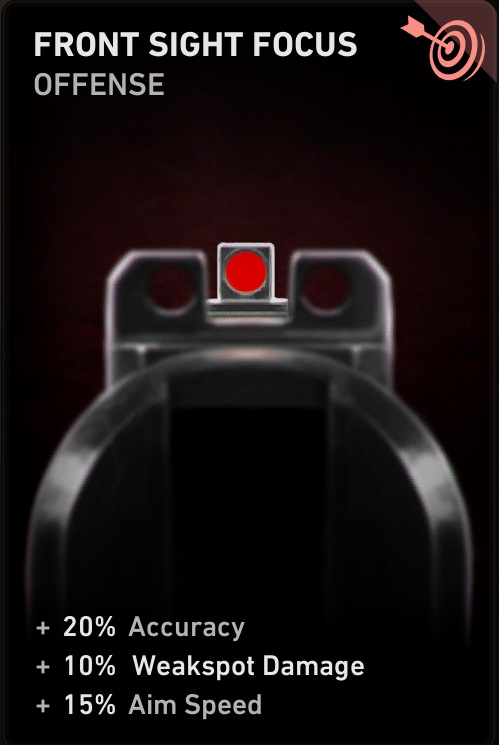
Front Sight Focus: +20% accuracy, +10% weakspot damage and +15% aim speed. Combined with Optics Enthusiast the spread is now reduced by 50%. By this point you should notice the reticule tightened to that of an assault rifle.

Shredder: Capitalising on the laser focused pellet spread, Shredder can increase damage dealt to a mutation by +15% in 2 shots. Pair this with Walker’s own Damage buff and in just 1 card you’re already increasing damage dealt by +25%. A better option over confident killer, shredder will stack the damage increase much quicker despite the reset and applies the max +15% damage increase to the target rather than the player so everyone can benefit.
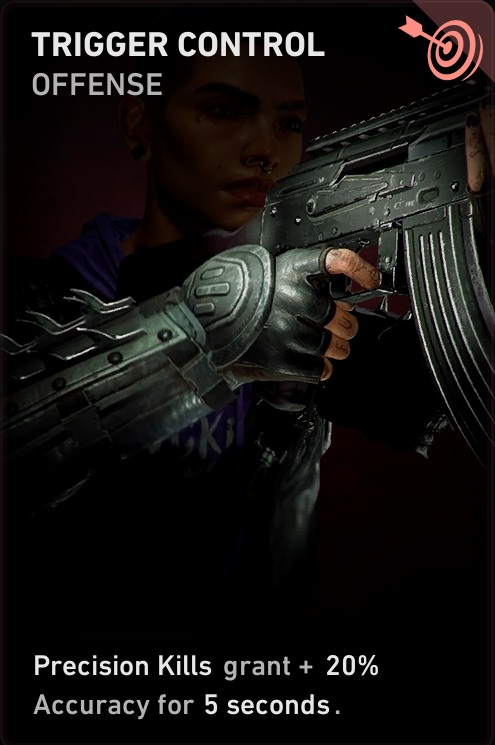
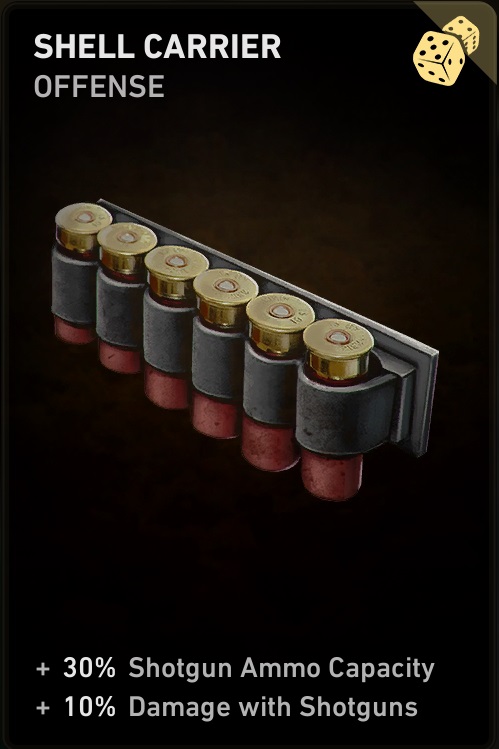
Trigger Control/Shell Carrier/Stealthy Passage: Precision kills grant +20% accuracy for 5 seconds. You’re going to have no problem at this point painting the enemy with pinpoint accuracy so it’s up to you if you think you need that extra accuracy (Baring in mind weapon attachments can also increase accuracy) or go for the +30% extra ammo and +10% damage increase from Shell Carrier… or as mentioned above, making Walker the Stealthy Passage Mule.
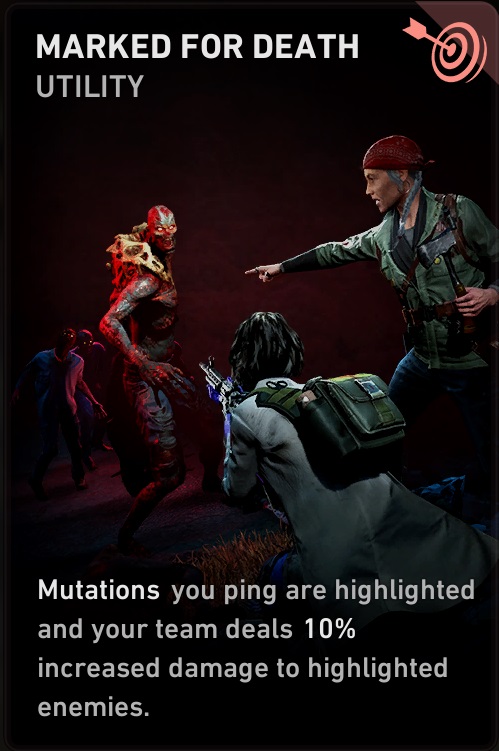
Marked For Death: Two birds, one stone. Marking a target will now not only decrease their damage output but also increase the damage they receive by +10%. Building on that damage increase further nets Walker a +45% to damage with a full stack of shredder and the team a +25% increase.
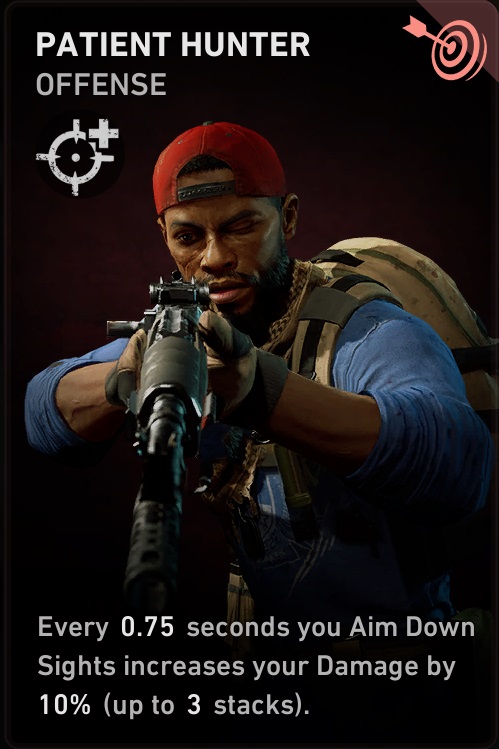
Patient Hunter: For every .75 secs aiming down the sight, increases your damage by +10%. Stacks up to 3 times. After 2.25 seconds aiming down the sight, you’ve stacked your damage increase to 75%.

Shooting Gloves: A great card for heavy recoil full-auto shotguns like the AA or Super 90. +25% weapon swap to keep the dps high, +15% recoil control to help with readjusting your aim after every shot and +15% more accuracy for your laser shotgun.
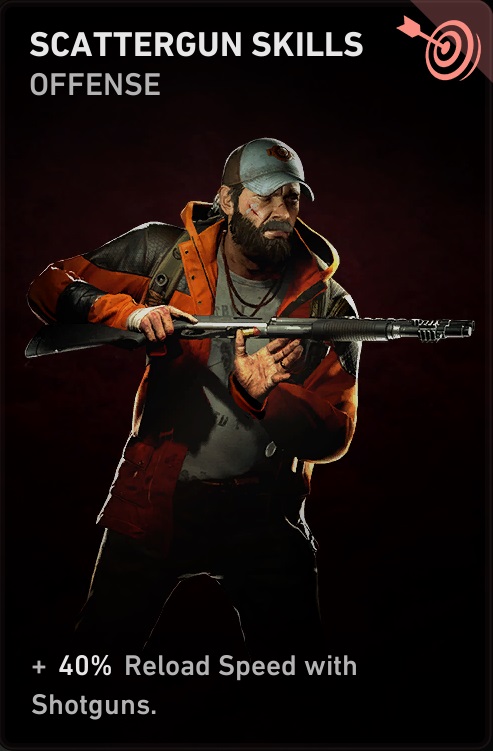
Scattergun Skills: +40% reload speed to shotguns. Shotguns take a long time to reload and if you’re not running something like admin reload to keep the mag loaded on your holstered weapon then you need all the help you can get to lessen the time where you’re not doing damage.
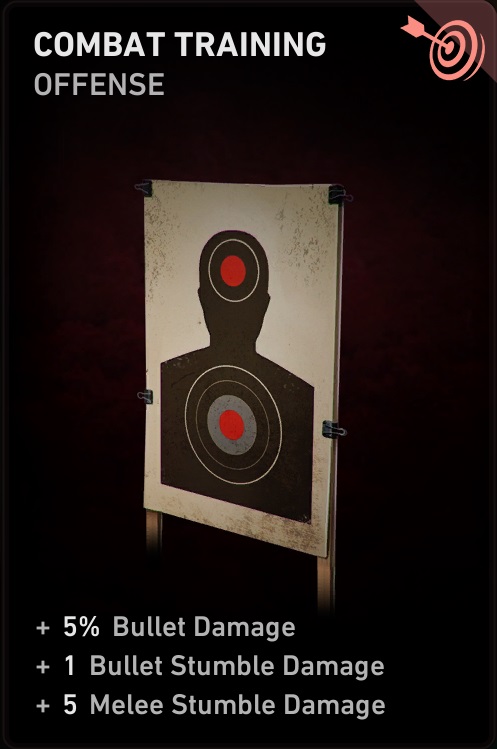
Combat Training: +5% more damage for every pellet but most importantly, stumble damage. Stumble is going to keep the big mutations away from the group. With the added accuracy you can achieve at range full contact of up to 12 pellets with the Tac 14 (16 with The Belgian sidearm), all adding their own point of stumble damage on top of the base weapon stat making it so you can keep all but the sturdier mutations away from doing any real damage almost indefinitely.
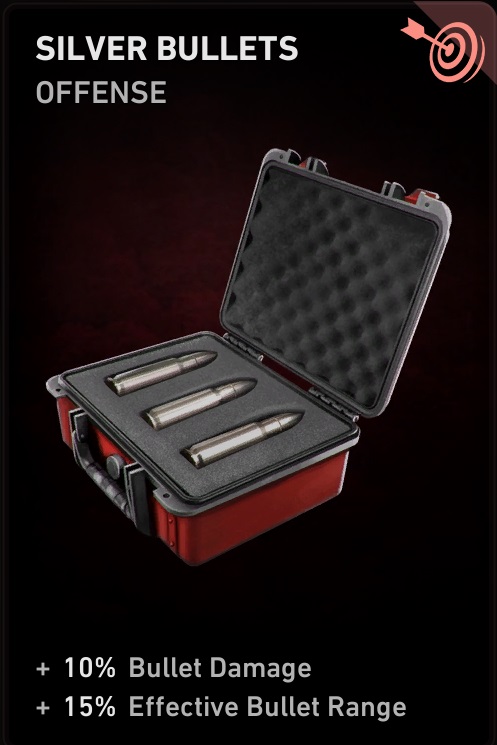
Silver Bullets: Finally with Silver Bullets, +10% Damage (So you’re now sitting at max +80%/+90% extra damage!) and +15% extra range - Shotguns need range to function in this build so every little helps (Consider it for your attachments too).
Hoffman Destruction
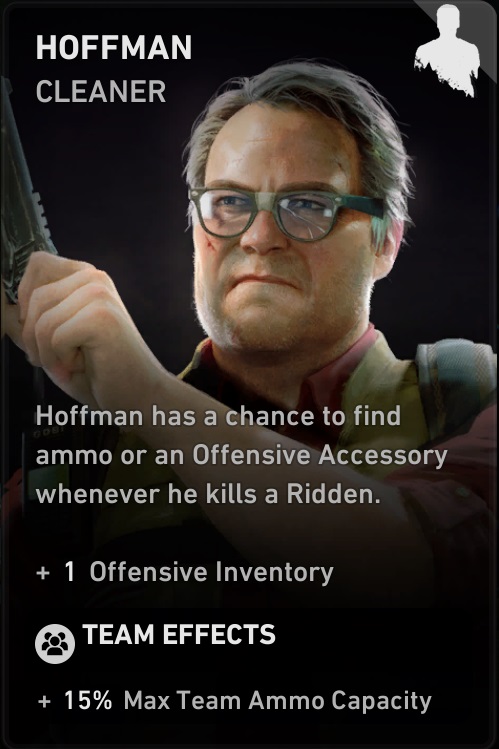
Hoffman is a bit special on account of his potential to find offensive accessories and ammo upon killing a ridden. Pair this with his extra pocket for offensive items and 15% team increase to max ammo, Hoffman is a great choice for any team and really excels at maintaining healthy ammo supplies and making those scarce items more frequent while capitalising on their damage output.
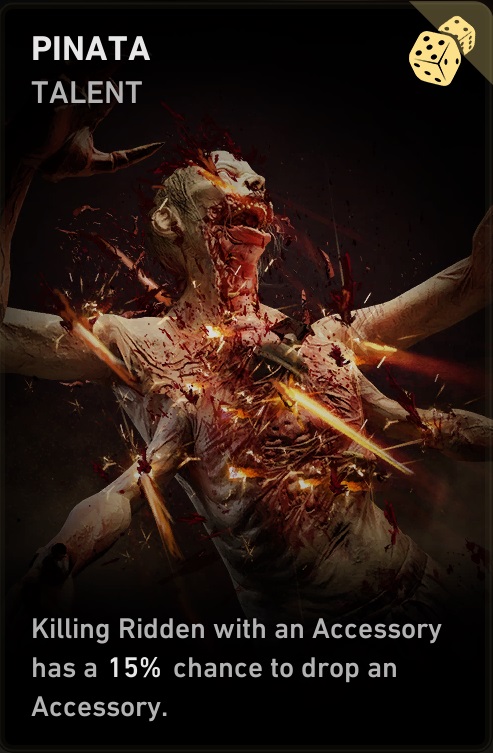
Pinata: Killing a Ridden with an accessory has a 15% chance to spawn another accessory. Doubling down on Hoffman’s inherent skill card. Imagine taking out several ridden with a pipe bomb, that’s a lot of chances to find a bunch of gear for the whole team.
Bomb Squad: 1 additional frag on the map, +25% explosion damage and +20% explosive resistance for the team. Making the boomies stronger and mitigating any unfortunate splash damage against the team. Note this +25% damage increase includes fuel canisters and explosive barrels.
Improvised Explosives: +75% accessory damage at a cost of -25% swap speed. Making your frags and Pipe Bombs deal double damage when combined with Bomb Squad.
Cold Brew Coffee: Once again, +15% to reload speed, +25% aim speed, weapon swap and use speed. A staple for any good gun build, but what we’re looking at most is neutralising that swap speed decrease from Improvised Explosives… the reload speed is nice too.
Down In Front: While crouching you neither take nor deal friendly fire damage. +10 health. A must for an explosive build especially in narrow spaces where players are well within the splash damage of explosives. Just make sure to crouch before you throw out your explosives.
Magician’s Apprentice/Mandatory PT: There’s already going to be a lot of accessories dropping from Pinata and Hoffman but it wouldn’t hurt to get some reuse chance in the mix if the RNG Gods aren’t giving you the accessories you need, however if you’re not totally on board with the potential overkill of accessories, Mandatory PT with its +10% to stamina and stamina regen will help the whole team.
Fire In The Hole!: Gain 20 temporary health and +25% sprint speed for 5 seconds upon throwing an offensive accessory. On the basis that this build makes offensive accessories plentiful and how temporary health is paramount to surviving the hordes. Fire In The Hole! Is going to help keep you healthy and swift in those clutch moments.
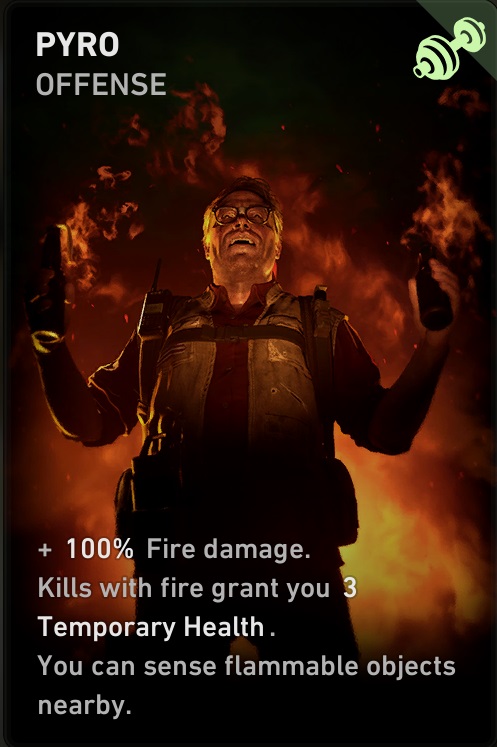
Pyro: Doubles the damage of fire, provides 3 temporary health with every fire kill and allows you to sense flammable objects. For when you can’t find explosives and makes base level Molotov’s more likely to get the kill and proc Pinata.
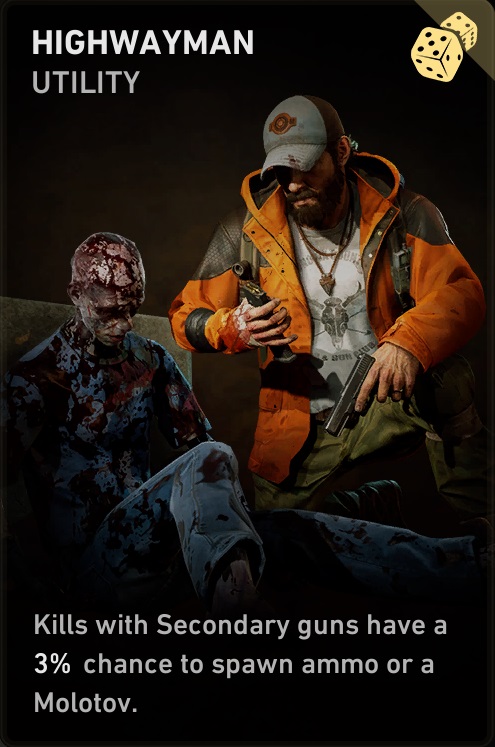
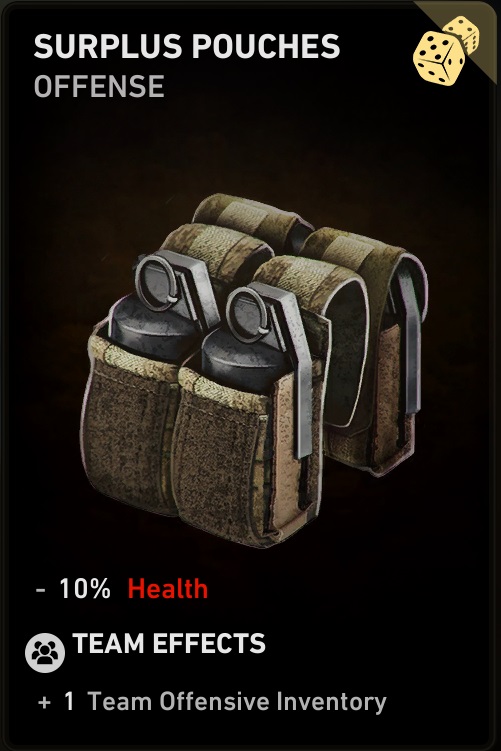
Highwayman/Surplus Pouches: Kills with a secondary weapon have a 3% chance to spawn ammo or a Molotov. Potential overkill again but the idea is helping to keep ammo stocks and offensive accessories full or you could take the +10 health from Down in Front to offset the cost of an extra offensive slot for the whole team with Surplus Pouches.
Sharice or Holly? Melee Tank
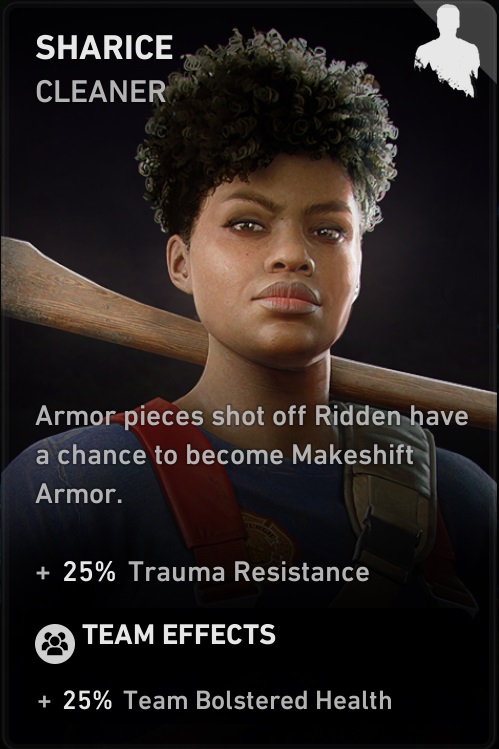
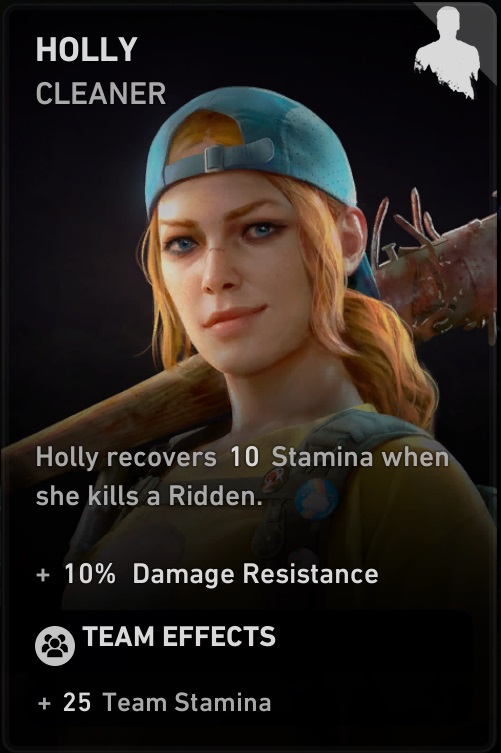
Sharice on the surface looks like she would be the new Melee lady, but she’s not really built with that in mind but it is doable. Including +25% trauma resistance and +25% team bolstered health (Bolstered health is essentially an extra bar of health that can be filled ABOVE your max value via temporary health) Sharice brings along a brand-new feature that nobody else can offer… armour plating, the most unique perk yet. When Sharice is present, you can find armour plating either in the world or from breaking the armour over mutation weak spots. When equipped, this armour can negate the damage of heavy hitting attacks – handy against Tallboys, Exploders, Breakers or Ogres. What this means is that you can also totally ignore any substantial single hit trauma damage for the whole team. The armour can stack too! Unfortunately, Sharice might not be the best option for No Hope over Holly as the versatility of damage resistance and stamina is generally more valuable than the situational protection of armour plating when the whole idea is to keep the big hitting mutations away… or dead before they reach you. Holly also gains 10 stamina on EVERY kill, ranged or otherwise to keep her running or swinging.
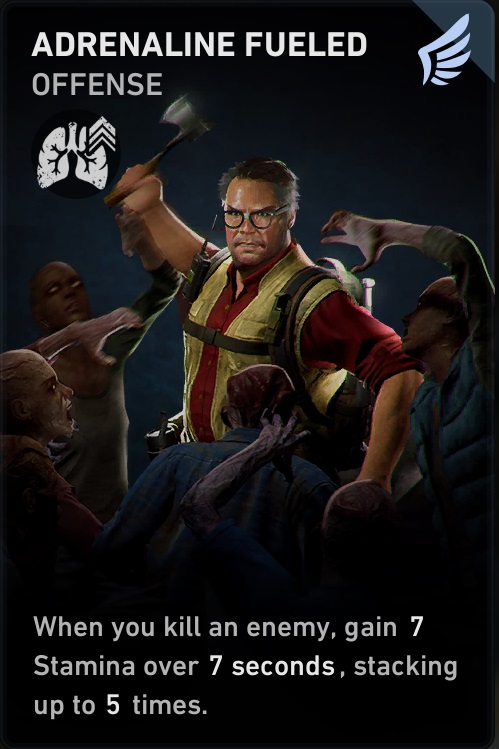
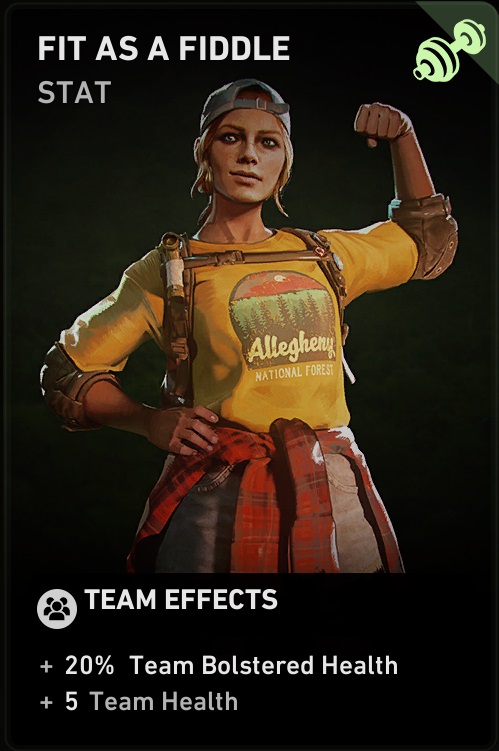
Adrenaline Fueled/Fit As A fiddle: For every kill, gain 7 stamina over 7 seconds. Stacks up to 5 times / Team Bolstered Health +20% and Team health +5. Essentially to give your character what the other has innately, albeit a slightly lesser version.
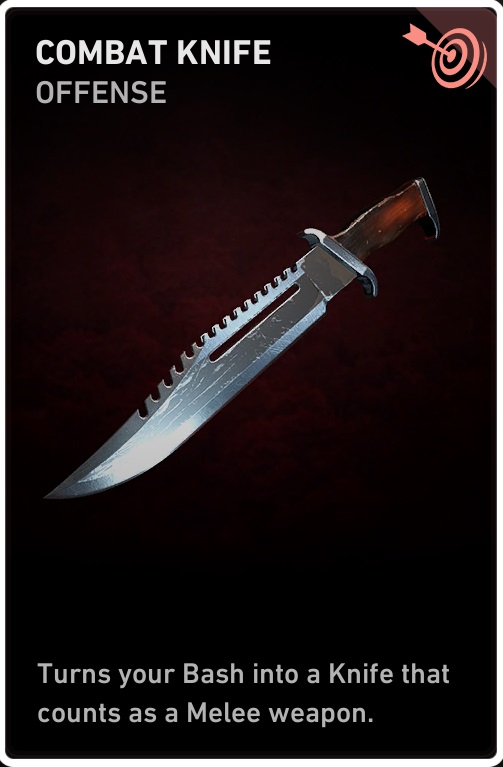
Combat Knife: Turns your bash into a melee weapon. What this does is give you benefits of the melee build while negating any friendly fire damage. Great for clearing hordes in tight spaces where you might otherwise be taking huge chunks of health away from your teammates, plus it costs significantly less stamina to swing than a melee weapon.
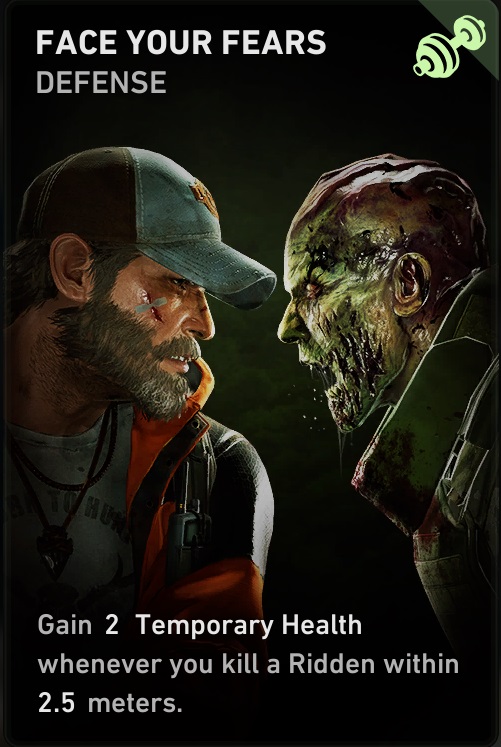
Face Your Fears: Every kill within 2.5 meters nets you 2 temporary health. Self-explanatory. Temp health is going to get you through.
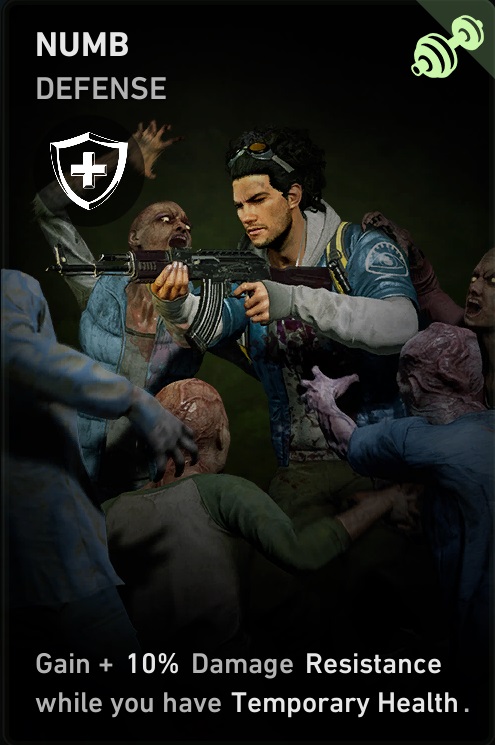
Numb: Gain +10% damage resistance while temporary health is active. Making good use of temporary health to further increase your resistance to damage.
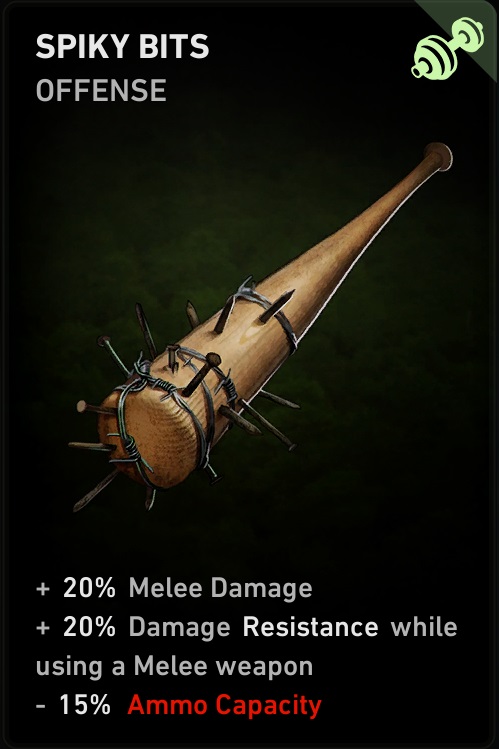
Spiky Bits: +20 Melee damage, +20% damage resistance while using a melee weapon -15% ammo capacity. Simply to help get you over the damage threshold for one shotting common ridden with the knife while increasing damage resistance further to hit +30% with Sharice or +40% for Holly.

Meth Head: +40% attack speed, +30% melee attack efficiency and stops your melee attacks from sticking into the thicker-skinned enemies at the cost of disabling aim down sights. Helps increase your damage output while lowering the stamina cost of each swing.
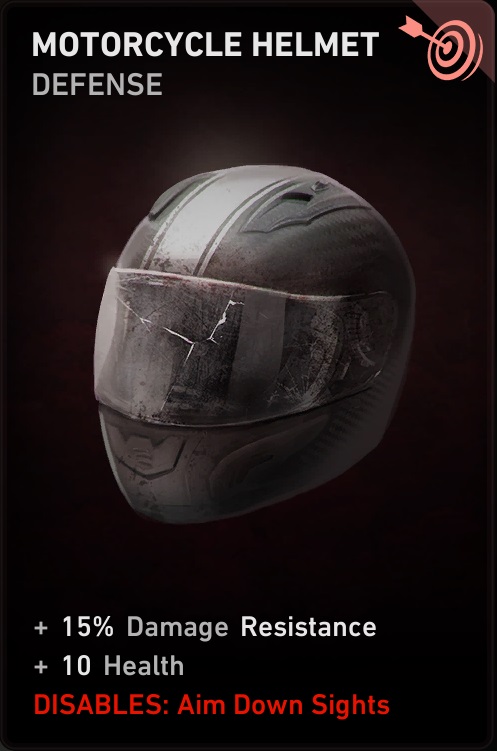
Motorcycle Helmet: +15% Damage resistance and +10 Health. We’ve already lost the ability to aim down sights from Meth Head so it makes sense to further boost your damage resistance at no extra cost.
Battle Lust: Gain 2 health for every kill and potentially save the medic from using a medical accessory.
Batter Up: +40% Melee Damage and +5 health. Within in the interests of helping you do big damage against the tougher enemies like Hags and Berserkers while they’re stunned.
I’ve chosen to omit using cards that increase movement speed and haven’t focused too much on ones relating to stamina and stamina regen as the hope is to find and buy those through the multitude of card shrines and team upgrades you’ll find in each level including any other cards that would prove useful but not necessarily crucial to the build.
Of course, these are only some of a great many builds you can make and while I haven’t covered every character and weapon type, these are the ones I’m most comfortable recommending having used them myself. Feel free to use these builds or even as a template to help experiment with what works best for you and your team. Let me know what you think and if you want more of these guides in the future. Thanks for reading this far and I wish you luck in making it through the No Hope difficulty.